Cleaning Strained Tile & Grout In Your Shower
The tiles in your shower are durable and generally easy to clean. What you may have a problem with is the grout between your tiles. Grout is porous and light in color which makes any strain stand out. Fortunately, there are a few steps that you can take to clean the grout in your shower. The tile & grout cleaning experts give us the juicy details on how to make your floors shine and last for a very long time.
Scrubbing With Warm Water
The first cleaning method you should try is warm water and a stiff-bristle brush. If you do not have one of these brushes, you will be able to pick them up at most home centers and hardware stores. These stores will often have a selection of brushes designed to clean grout.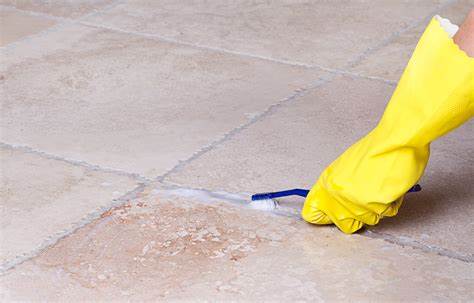
Once you have the brush, you simply need to spray some warm water on the grout. You can then scrub the ground with the brush in a circular motion. This should remove the stain and you need to leave the grout to dry.
Vinegar And Warm Water
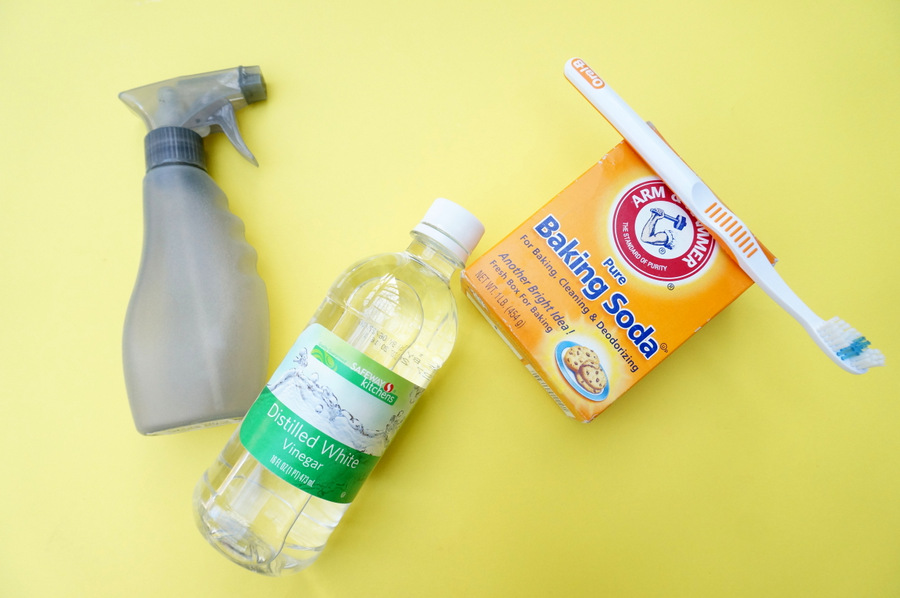
There are many instances where warm water on its own is not going to clean your grout. If you have mild stains and heavy dirt build-up on the grout, you need to turn to vinegar. White vinegar is the best option when it comes to cleaning and is used for a range of household chores.
To use it to clean your grout, you should mix it with warm water in a spray bottle. The mixture should have a ration of 1:1 or equal parts of vinegar and warm water. You should then spray this mixture on the tiles and leave it for approximately 5 minutes. You then need to use your stiff brush to scrub the grout and remove the stains.
Baking Soda Paste
If you have tried vinegar and your grout is still stained, you need to bring some baking soda into the mix. This will bring more cleaning power, but you need to wait for the grout to dry after your last cleaning attempt. As you wait, you can start making the baking soda paste.
This is a simple paste to make as you mix baking soda with water. The paste should be thick able to stick to the grout in your shower. Once the grout is dry and your paste is ready, you can apply the paste to the grout. You should then spray the paste with the vinegar-water mixture.
When the vinegar comes into contact with the baking soda, it will start to foam. You need to leave the baking soda to foam as this removes the dirt and stain from the grout. Once the baking soda stops foaming, you can scrub the area with the brush and rinse it with some plain water. Ultra Clean recommends that once you are done cleaning, you MUST seal the grout for proper health and longevity of your grout color. Otherwise it will collect all kind of stains and debris over the years. For a great grout sealing guide head on over to here –> https://ultracleanfloorcare.com/grout-sealing-dallas/
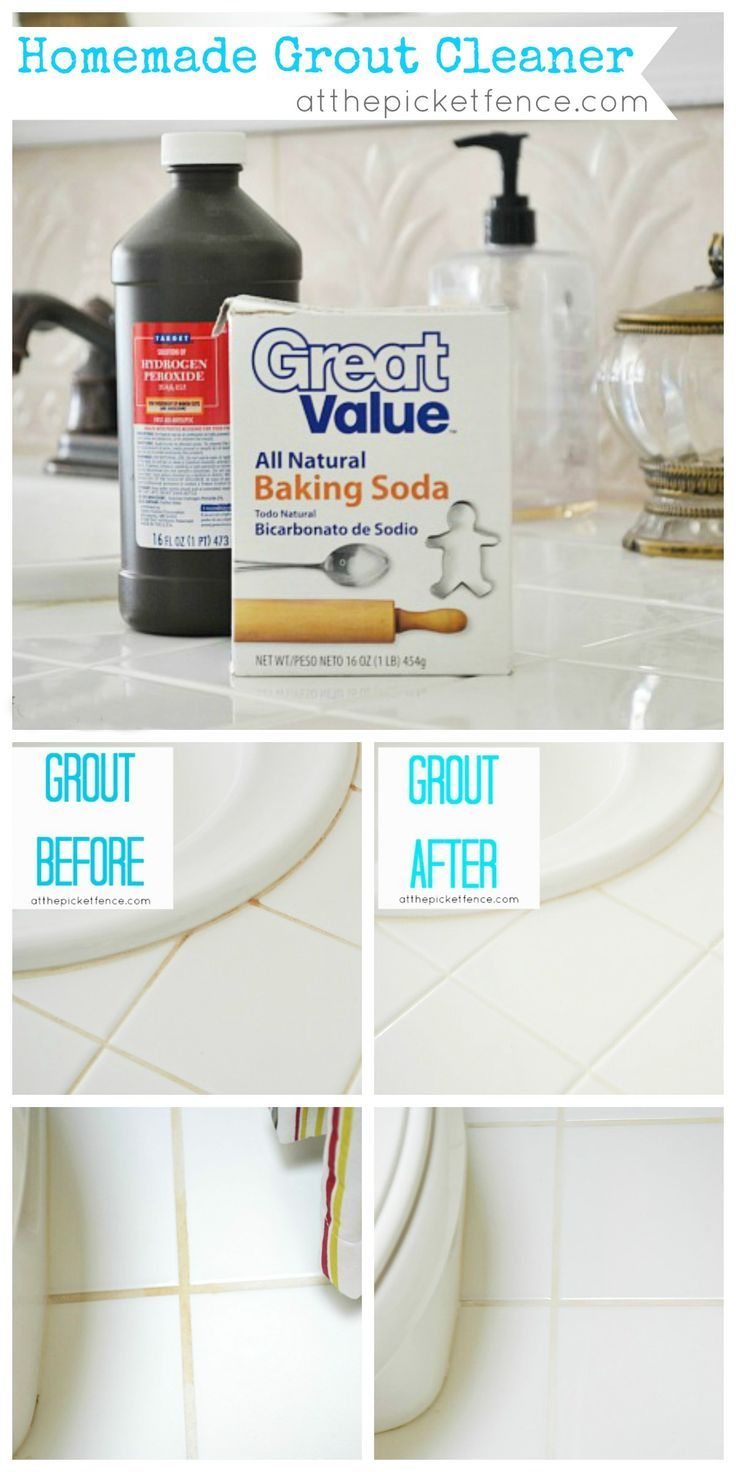
Using Hydrogen Peroxide
If you have moderate and persistent stains, you may need to use hydrogen peroxide. This is available from most drug stores, but you do need to be careful when using it. There are 2 ways that you can use hydrogen peroxide to clean your grout.
The first route is to apply it directly to the grout. You will need to leave it for a few minutes before rinsing it away and scrubbing the grout. The second route is to make a paste with baking soda and hydrogen peroxide.
Using Chlorine Bleach
A lot of commercial cleaners will have chlorine bleach. If you are going to use this for tough stains, you should do so sparingly and ensure that all traces of past attempts have been washed away. This is particularly important with vinegar because when vinegar and chlorine bleach mix they form toxic chlorine gas. Long-term use of chlorine bleach cleaners is not recommended for grout as it erodes it.
Hire A Professional
Getting rid of stains on grout can be a challenge and time-consuming. If you want to avoid this, you can hire a professional cleaning service instead. They will generally have the correct tools for the job and know which cleaning method to use. Many professional services will use steam cleaning to remove the stains which are considered one of the best solutions.
There are many ways that you can clean the stains on the grout in your shower. Some methods require water or vinegar and elbow grease. You can also hire a professional service to take care of this for you.
 Baking Soda Paste